


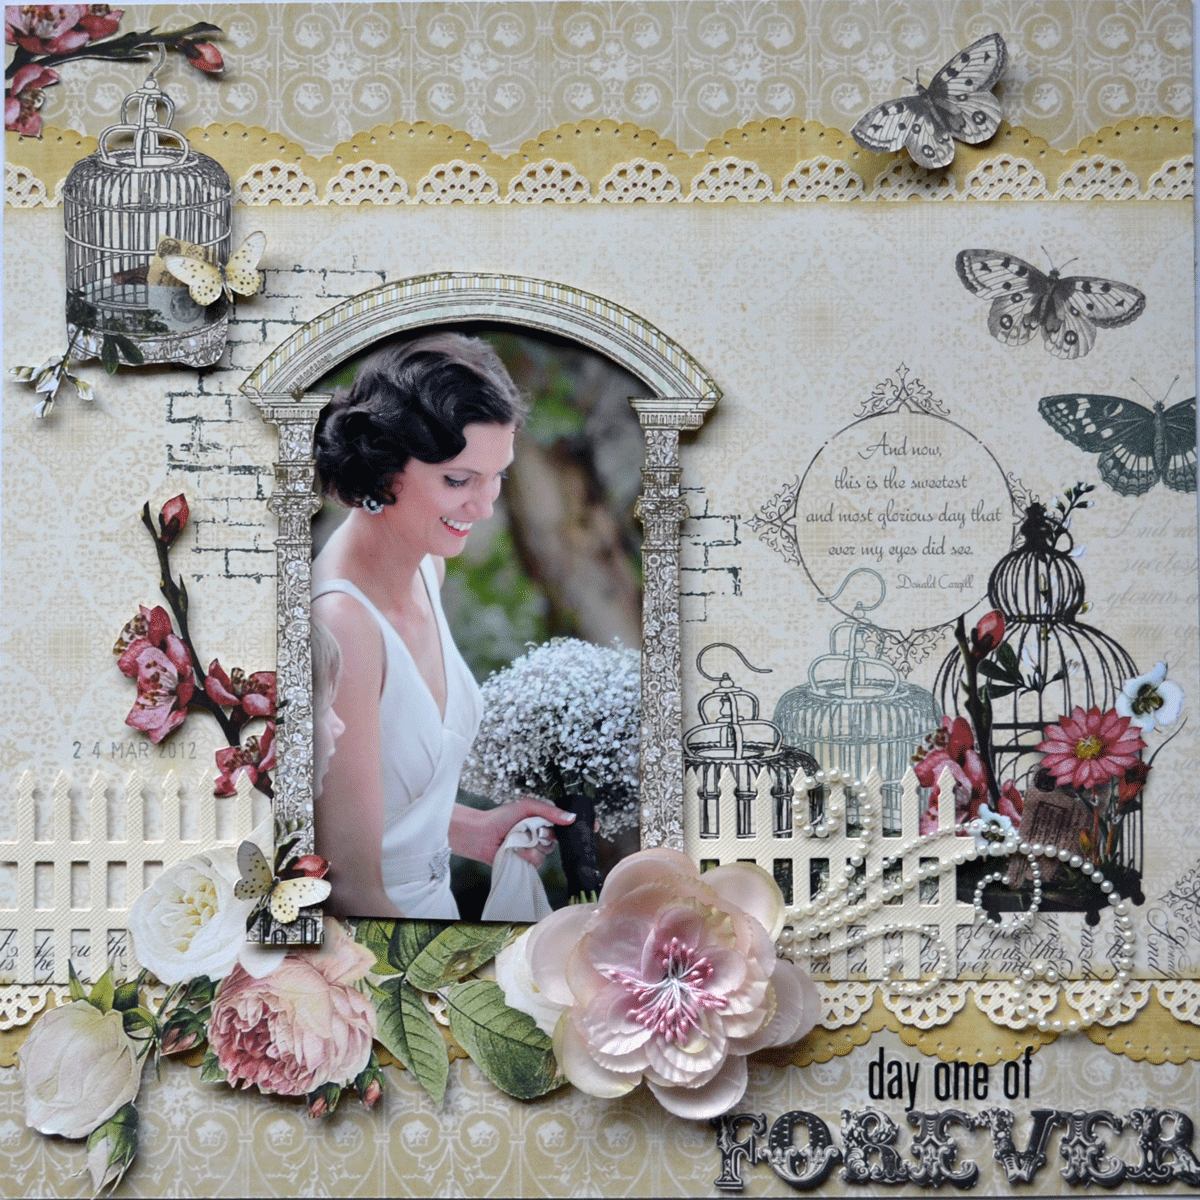


Hi , and welcome. Today, I want t share a layout I made using some more gorgeous Dusty Attic pieces. Ive used a few different techniques for this one, but, today, Im going to show you how I went about creating the 'Feather grass' using the GRASS BORDER #1 . These gorgeous weedy grasses are fast becoming one of my favourite pieces.
I followed the February sketch from Kaisercraft ( I followed sketch #1) for this LO. And have used the gorgeous Pickled pear collection, which I LOVE.
I followed the February sketch from Kaisercraft ( I followed sketch #1) for this LO. And have used the gorgeous Pickled pear collection, which I LOVE.
I adore this photo of my youngest son, Harrison, and the best thing, it was completely 'unposed', he was just sitting, watching his brother playing, hugging his teddy bear, I just pointed the camera at him, called his name, and got this gorgeous photo.

I have used the WROUGHT IRON TRIM SET as one of the main focal points on my layout. I simply inked both the large and the small pieces, using a makeup sponge, and a charcoal coloured ink. This is such a quick and easy way to colour your chipboard, and works fabulously with any darker coloured ink.


Hers a closeup of my Feather Grass, and below, I will show you how I made them.

* * *
1. Paint the entire piece using DUSTY IN COLOUR CRUSHED OLIVE, notice how the Dusty in colour paints match so well to the colour of the Dusty in bloom flowers.
.

2. Next, stipple DUSTY IN COLOUR CASHMERE to the flowers, allow to dry

3. Using a brush, with DUSTY IN COLOUR FORREST, paint in a few details, to highlight the individual blades of grass

4. Repeat using DUSTY IN COLOUR ALABASTER

5. Apply PVA glue to the flower heads, then sprinkle with Lemon coloured Flower soft.

And thats all there is to it.
Thanks for calling in today, and be sure to visit the Dusty Attic BLOG and NING site, for lots more projects, tips and tutorials from the incredibly talented Design team.


Gorgeous heads on the grass Karen, the flowers soft works a treat. I adore the photo as well, such a cute little face.
ReplyDeleteThank you for sharing the technique for the grasses Karen, they look fantastic. Lovely photograph! and a gorgeous LO - I love the little cluster in the top right hand corner.
ReplyDeleteSuper fab layout Karen! Love how you used flowersoft, it does add so much texture!!! Beautiful shot of your darling son too!
ReplyDeletethis is beautiful! love the flower effect on the yellow flower. beautiful LO and love that line of paper too!!
ReplyDeleteIsn't he gorgeous! Beautiful LO..x
ReplyDeleteVery nice design and elements.
ReplyDeleteAww I love his sweet smile! Gorgeous page! Love the papers and details!
ReplyDeleteThats all there is to it!! but wow this layout looks wonderful.. The photo could not be any better so natural and really lovely.. I love the black chippie going down the layout.. looks amazing!! I hope you are having a great week!!
ReplyDeleteawww...what an adorable photo Karen...and you have scrapped this layout beautifully as always! I just love your step x step with chipboard..thanks so much for sharing :)x
ReplyDeleteWhat a neat step x step Karen, so glad you showed us - and such a lovely layout too!
ReplyDeleteFantastic tutorial, thanks so much for sharing! Love how the Flower-Soft makes it all look so real.. beautiful LO!
ReplyDeleteawesome idea and looks amazing thanks for sharing xo
ReplyDeleteWow!!! Karen! This is fabulous!!!!!! Love the flower soft!!!
ReplyDeleteOh Karen - this is sensational! This is a layout that really makes we want to rush out and buy the product. I want that chippy!
ReplyDeleteWow! Love this one Karen!! Beautiful work ♥
ReplyDeleteGorgeous, gorgeous, gorgeous ... all of it ... and what a delightful photo ... a real treasure.
ReplyDeleteOoooh LOVE the flower soft on the chippie grass, looks smashing as does your page Karen!! This one is really so beautiful!! xoxo
ReplyDeleteThe tags are beautiful. I'm curious, the metal embellishments you used to trim the top and bottom, where can you find them??
ReplyDelete